First Steps
This tutorial is done in Blender. In this tutorial you need:
| A recommended version 2.93.xx |
| -FlashX’s LS3D plugins that can be found here:
https://github.com/FlashX64/blender-ls3d-tools |
Setting Up Your Vehicle
This is the most important information getting your vehicle to work.
The engine requires several files for vehicles to work and they have a suffix for the model filenames. If you don’t use this suffix the game engine won’t recognize the vehicle. Make sure your names are correct. I.e. “la_jeepsas”, “cla_jeepsas” etc.
If some of these files are missing, it may result in a crash.
| la_ | The actual model that is visible |
| cla_ | The destroyed model of the vehicle |
| dmla_ | The damage model |
| sla_ | Assumingly, this is used to calculate the shadows |
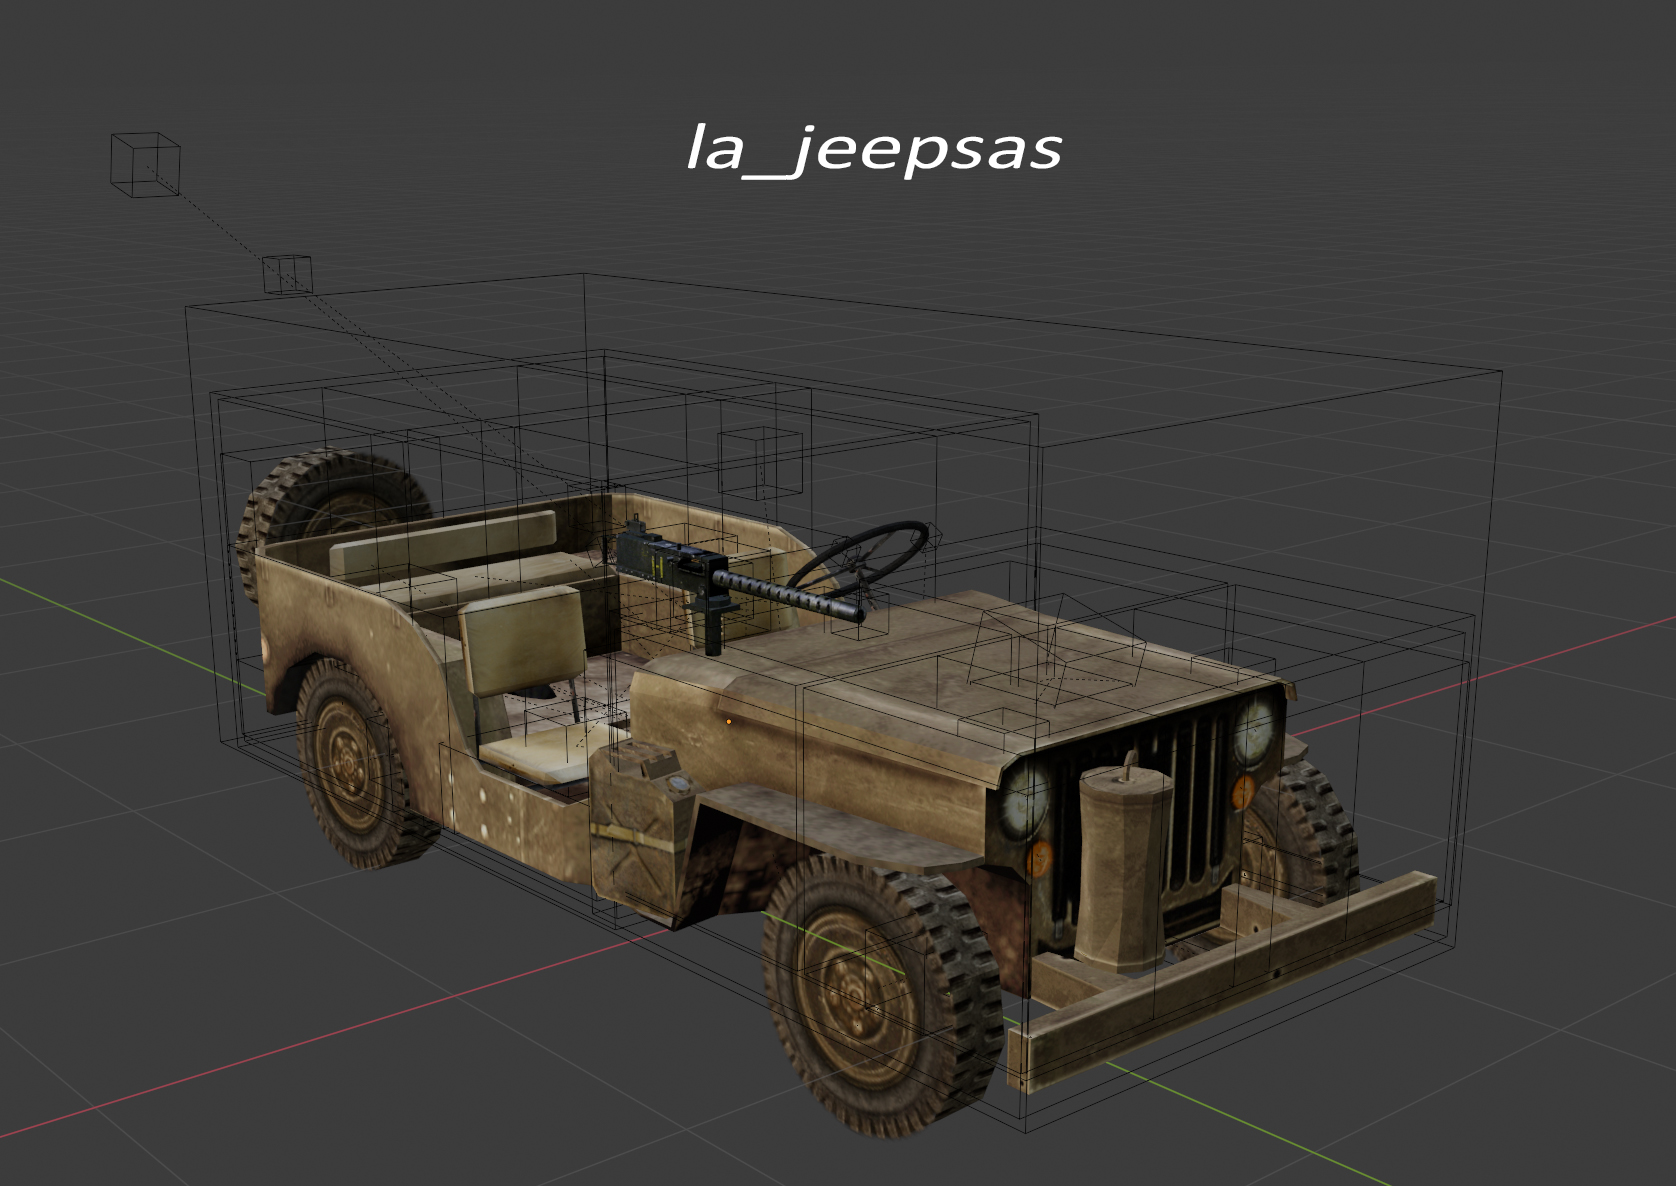
The visible model contains a lot of data like where visual effects appear (smoke lights etc.) how many and what kind of seats it contains, where the FPV/3rd person cameras are located for each seat. It also contains the material ID and collision mesh that can be deformed. (not to confuse with the damage model) The turret should also be setup in here but I’ll come to that later.
Wheels are also setup in here and they are aligned with dummies on each axis.
The seats are defined by the last number.
SEAT00, SEAT01 etc.
Under Object properties, LS3D Object and then “user defined properties”, settings for the sitting animation is defined with the seat’s name that can be seen when you interact with the vehicle.
“SEAT18,name7101” inside the SEAT01 dummy of la_jeepsas.
Different animations can be found in other vehicles.
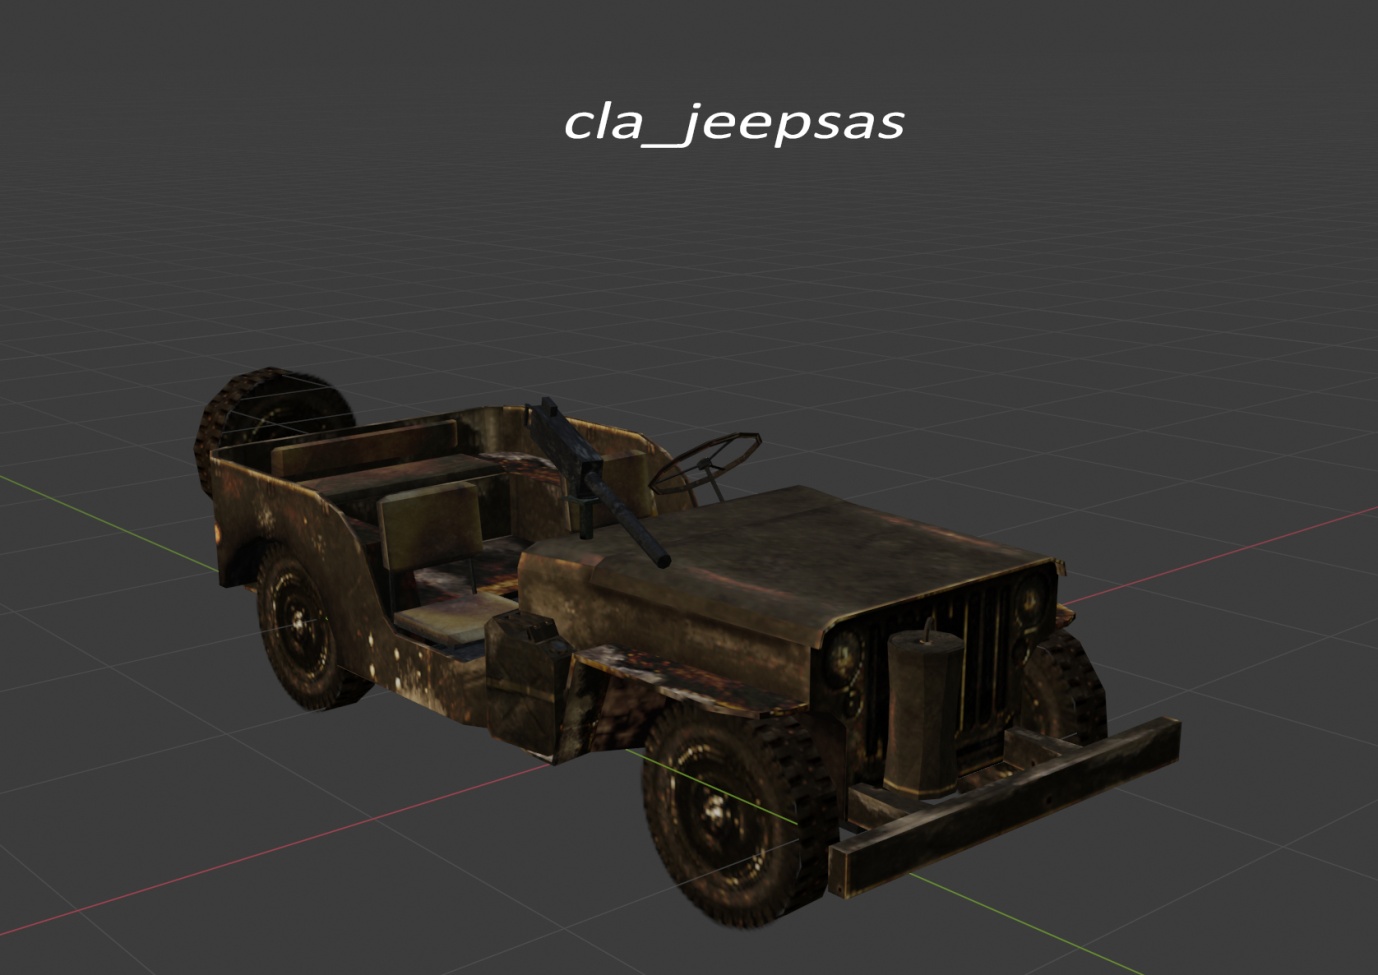
The destroyed model is just the mesh after the vehicle being destroyed. It also has material IDs and deform settings.
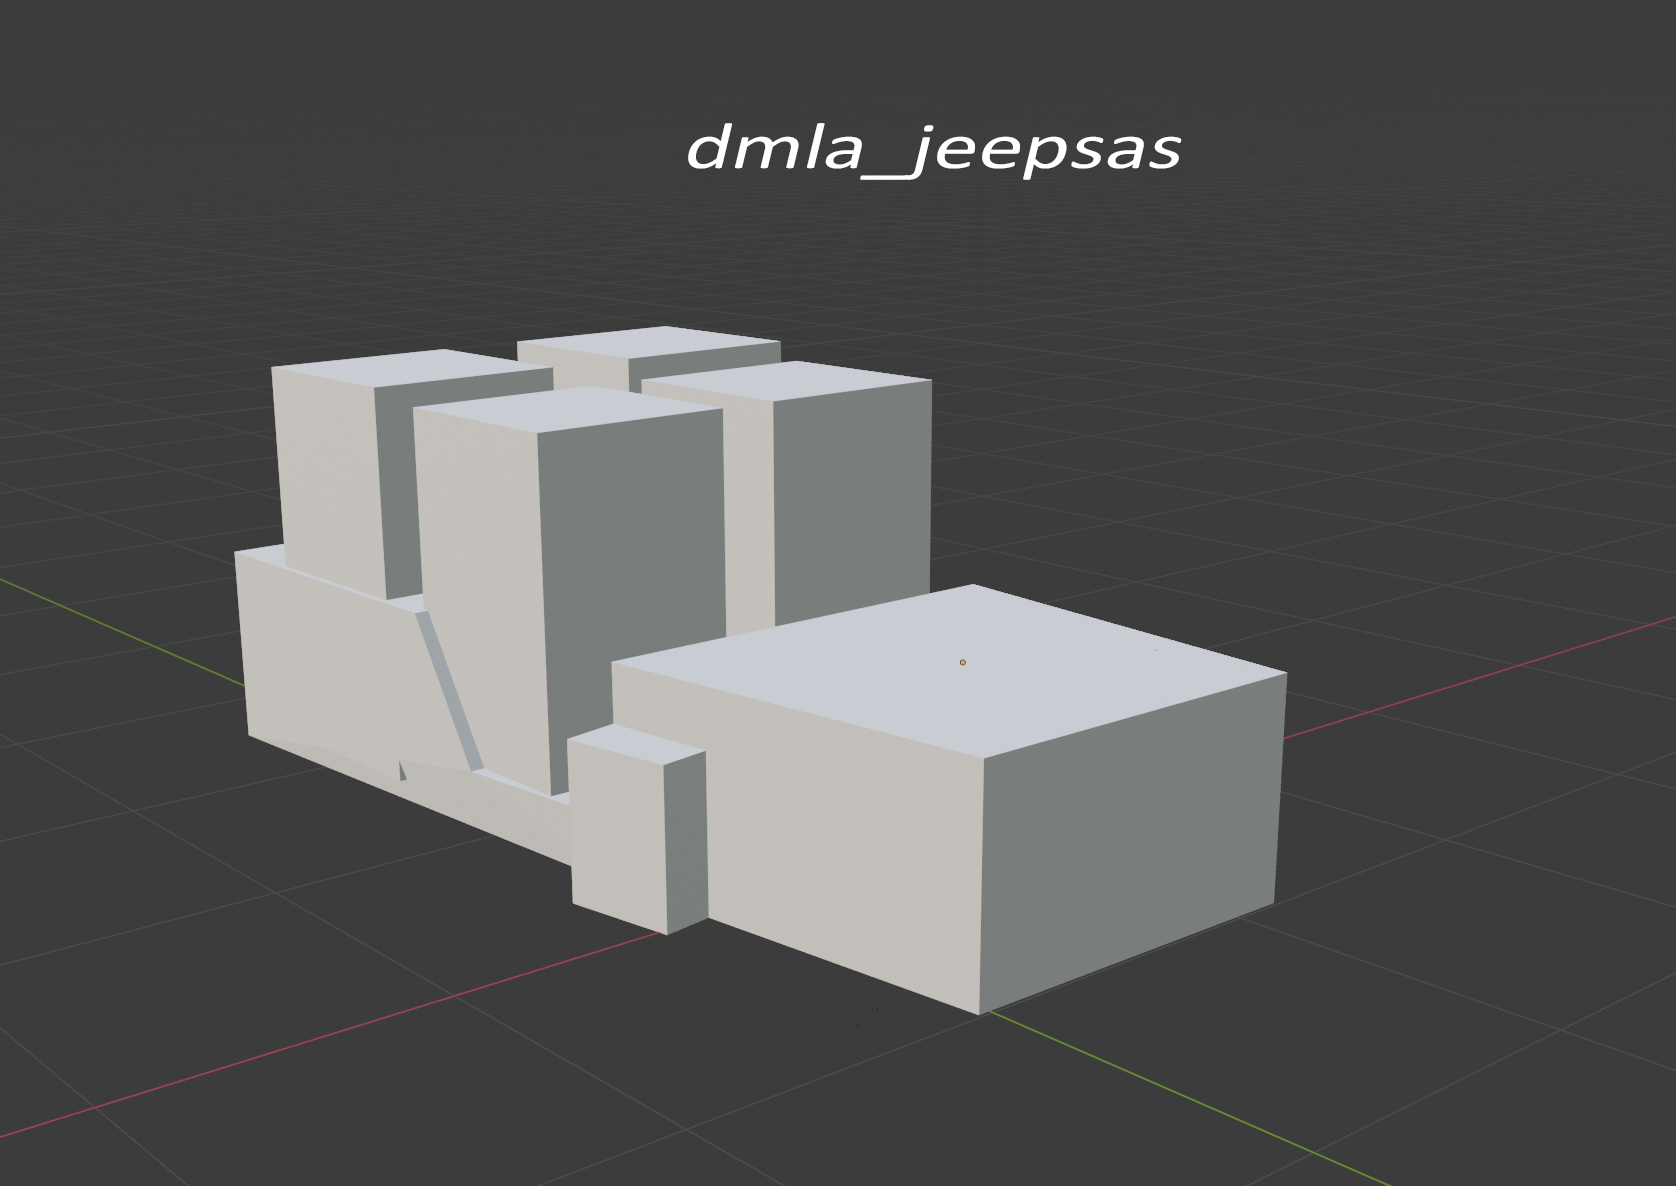
This is the damage model that absorbs weapon damage. Each face tells the game engine how many hit points it may take. It also has material IDs.
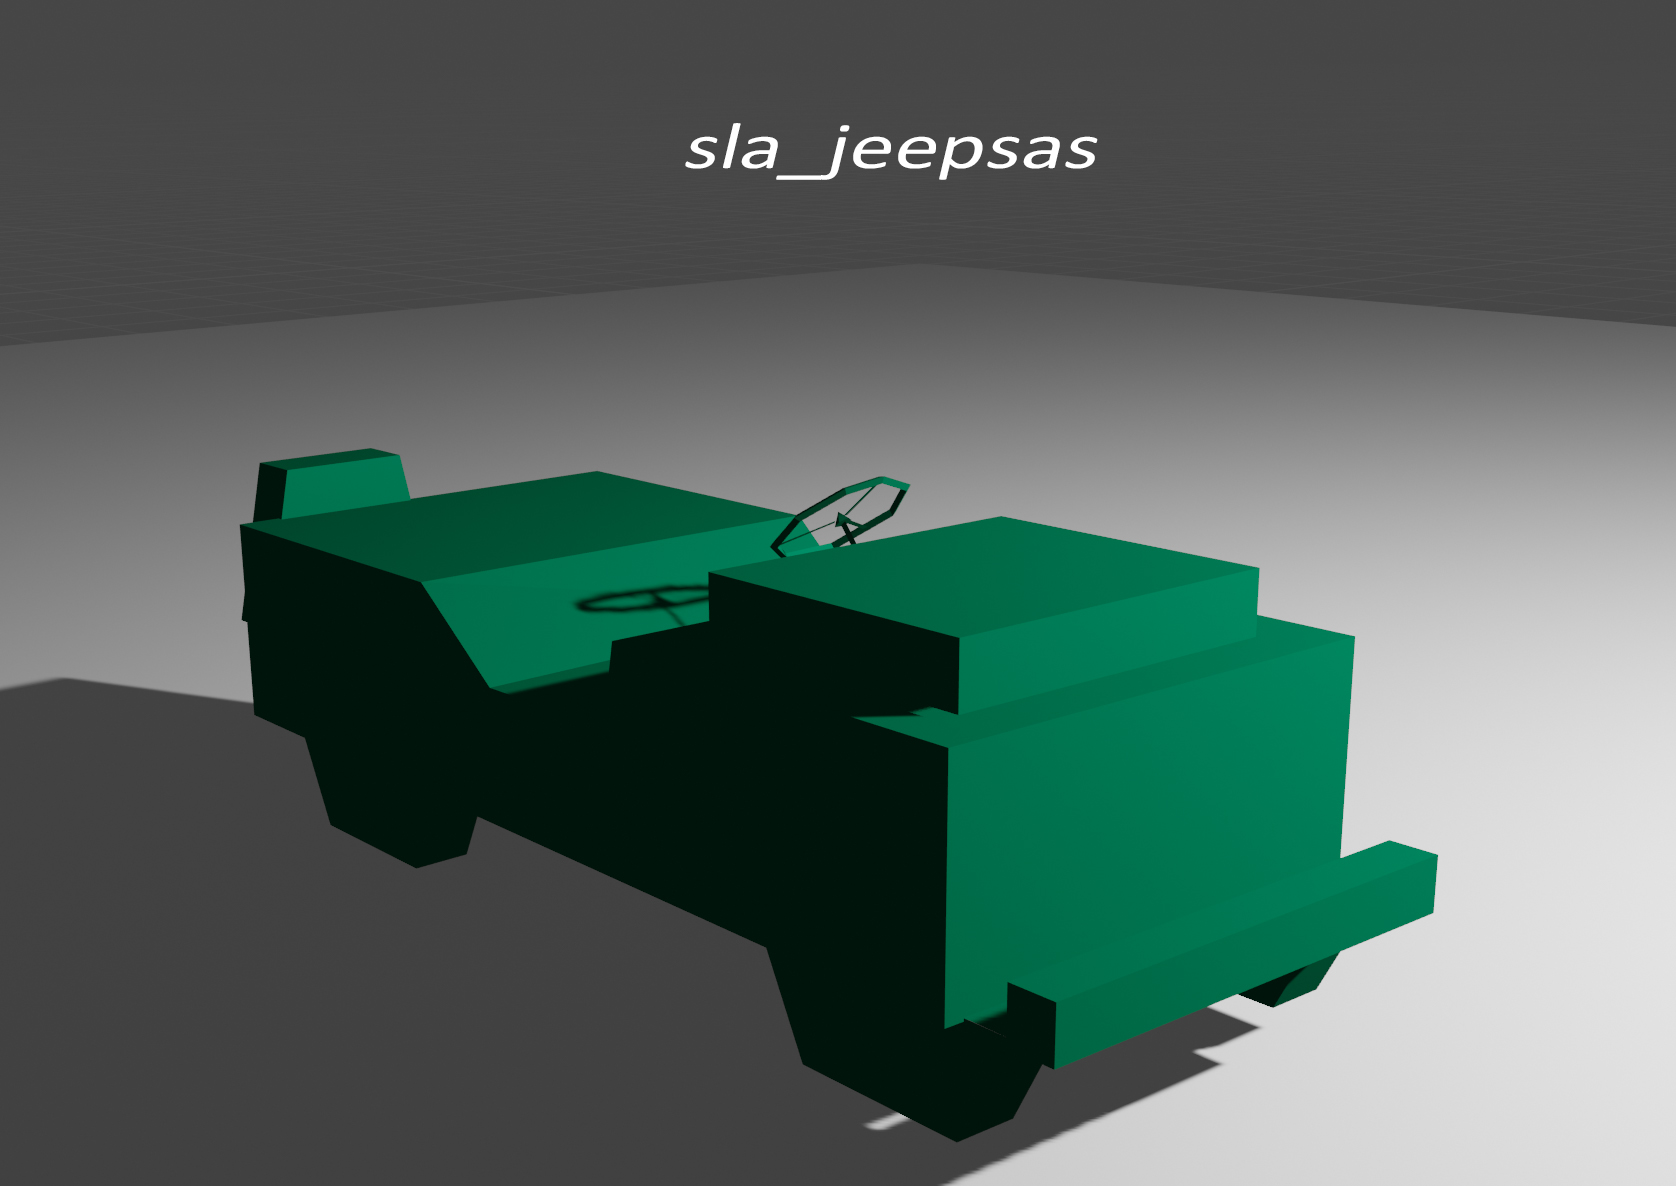
I can only assume that this model is being used for shadow casting. It is recommended to use it so it does not cause any unexpected crashes.
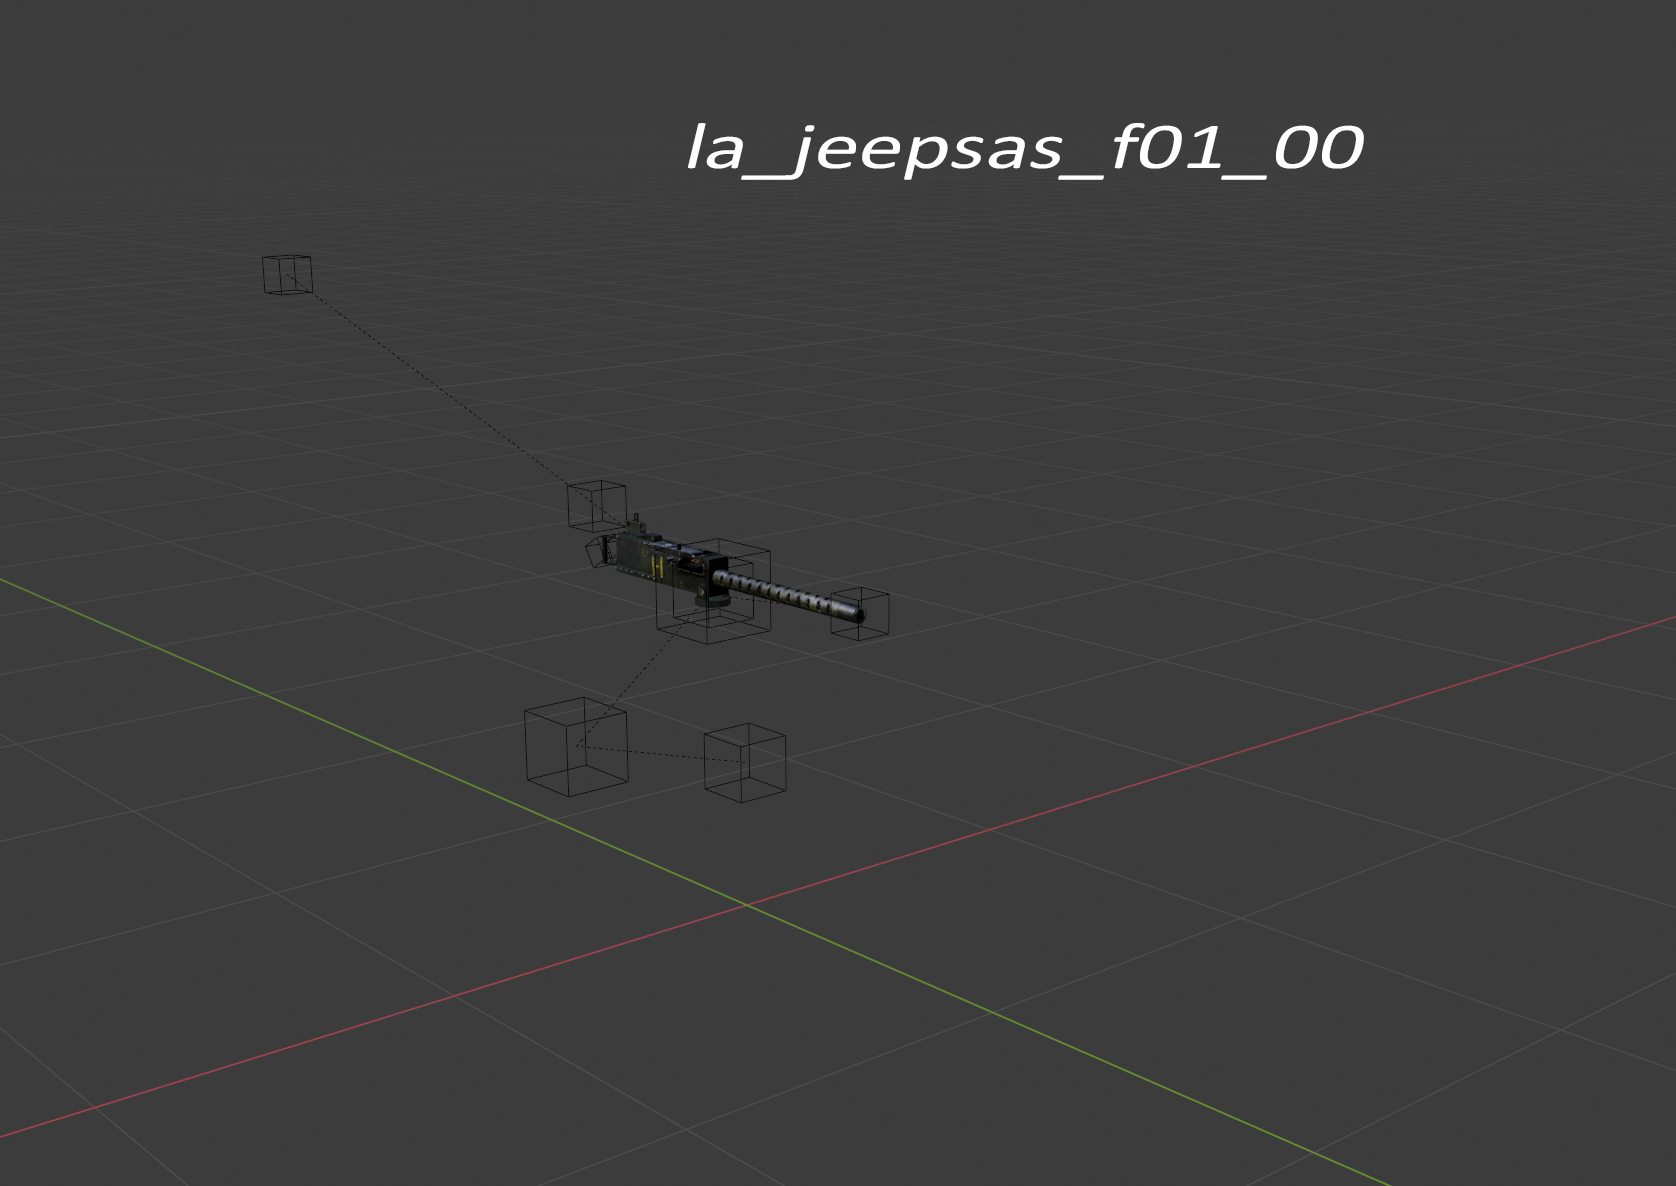
If you intend to create custom turrets, I highly recommend to make this mesh inside the “la_” model first. Each turret must be a child object of the according seat.
SEAT01>HORT01>VERT01>BARREL01_00
This can be also created into a static turret like the MG42. In Lutsip you will need to give it a “stationary weapon” actor.
You can put multiple turrets on one vehicle, but the hand animation where the character would hold the weapon can only be used once. Dummy’s (RWS and LWS)
Now in this jeep, the barrel is parented to SEAT01. Every child object needs to use the same suffix to make it work. I recommend to use the same pattern for the horizontal and vertical axis (HORT and VERT).
For example if it would have 3 turrets:
SEAT00>HORT00>VERT00>BARREL00_00
SEAT01>HORT01>VERT01>BARREL01_00
SEAT02>HORT02>VERT02>>BARREL02_00
A good example of how the horizontal and vertical axis work can be seen inside the “la_flak” model as they can move around different meshes.
“la_jeepsas_f01_00” is a separate file which contains the exact same coordination’s of where it would be on the actual model. Every other mesh is cut out. Each turret will need to have this “animation” file with the same seat suffix:
la_
la_
The 5ds file can be copied and renamed of the identical vehicle if this results in bugs.